Dashboard
Overview
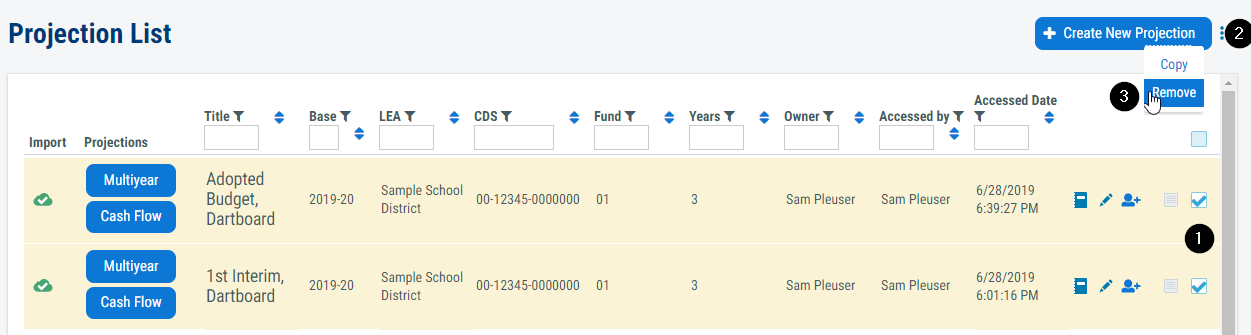
All accessible projections are catalogued on the 'Dashboard' in the 'Projection List.' This screen can be accessed from anywhere inside the software by clicking the 'Dashboard' link in the top right of the header next to the user menu.

Create a New Projection
When the 'Dashboard' is first accessed, no projections will be displayed.
To create a new projection container, which is a projection before multiyear or cash flow projection components are created, click the 'Create New Projection' button in the top right corner, below the user menu.

Then complete the fields and click the button:
- 'Title' - Enter a title
- 'LEA' - Select an LEA from the drop-down list
- 'Base Year' - Select the base year from the drop-down list
- 'Total Projection Years' - Select the total projection years from the drop-down list
- 'Fund' - Select the SACS reported fund from the drop-down list. Note, see below to select a custom fund for projection.
- 'Notes' - Enter a note (optional)
- Click 'Save'

Establish the Base Year
The foundation of the multiyear projection calculation is the base year. While the base year may be manually entered, it is recommended that it be imported.
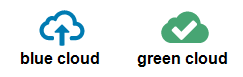
The first column, 'Import,' contains an indicator to identify the type of base year in a projection. The blue cloud icon indicates that no file has been imported for the base year. The green cloud icon indicates that a base year has been imported.
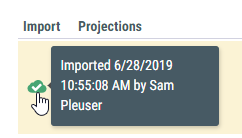
You can also hover over the indicator icon to see the last import date and time.
To import or reimport the base year:
- Click on the blue or green cloud icon to initiate the import process.
- Select the file for import in the browser window and click 'Open.' For supported file types, please see below.
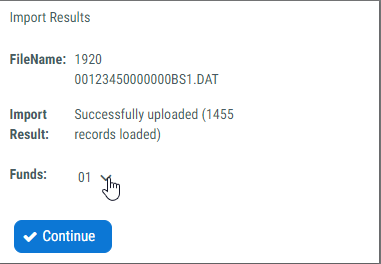
- Confirm the import is accepted by reviewing the 'Import Result.'
- By default, the fund selected when creating the projection container will be imported.
(Optional) For SACS format imports, a custom fund may be selected. To select a custom fund, click the drop-down arrow and select the fund from the list of funds available in the file. Consult with the financial system provider to produce an export with custom codes.
The following actions will occur to individual fund-resource-object combinations when reimporting the base year:
| Status in Projection | Status in Import | Action in Projection | |
|---|---|---|---|
| A. | Exists | Exists | Update |
| B. | Doesn't exist | Exists | Add |
| C. | Exists | Doesn't exist | Remove or set the base year to $0* |
| D. | Exists with conditions: $0 in base year and a value in a projected year |
Doesn't exist | Set the base year to $0, retain projected years |
*The combination is removed only when it doesn't exist in the historical year.
 IMPORTANT: After importing the base year, use the resource views to compare the results with your financial system or SACS software reports. Verify that all COA codes are defined and no incomplete codes exist.
SACS Format Import
All LEAs that report in the SACS format can import their budget, unaudited actuals, first interim or second interim file.
The system will accept:
- an export file in the SACS format with defined SACS codes directly from the financial system
- an export file in the SACS format with locally defined 4-digit resource and object codes directly from the financial system
- an unofficial export file from the SACS software
- an official export file from the SACS software
For further file import details, please see Projection-Pro File Specifications for Vendor Use.docx.
Charter Alternative Format Import
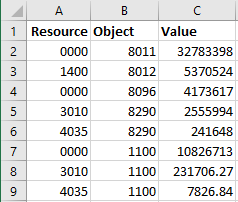
Charter schools that report in the charter alternative format can use the alternative .csv import template. The custom import file format contains three columns: Resource, Object and Amount. For convenience, a formatted Excel (.xlsx) template is available, but the file must be saved as comma delimited (*.csv) for import.
Templates and Sample File:
*must be saved as .csv before import
For further file import details, please see Projection-Pro File Specifications for Vendor Use.docx.
Add a Multiyear Projection Component
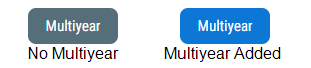
To add a multiyear projection component to a projection container, in the 'Projections' column, click on the 'Multiyear' button. A blue button indicates the projection container contains a multiyear component. A gray button indicates the projection does not contain a multiyear projection component.
When a multiyear projection is added to the projection container, the software redirects to display inside the newly created multiyear projection. See Multiyear Projection for more information.
Add a Cash Flow Projection Component
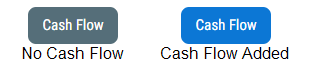
To add a cash flow projection component to a projection container, in the 'Projections' column, click on the 'Cash Flow' button. A blue button indicates the projection container contains a cash flow component. A gray button indicates the projection does not contain a cash flow projection component.
When a cash flow projection is added to the projection container, the software redirects to display inside the newly created cash flow projection. See Cash Flow Projection for more information.
Locate an Existing Projection
To help find the most recent projections, the projection list is automatically ordered by the last accessed date. The filter and sort options at the top of a column will limit and reorder the list.
To use a filter, identify a column to filter and type a searchable word in the filter box below the column header.
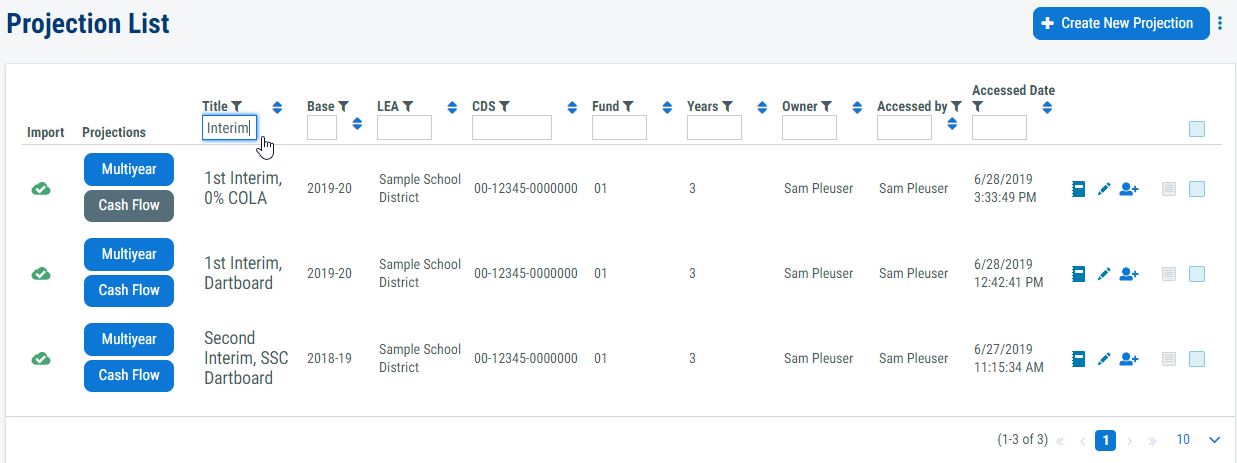
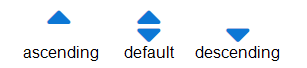
To change the default sort order of the projection list, identify a column to sort by and click the sort icon to cycle through ascending and descending order. The icons indicate if the column is set to the default, ascending or descending order.
You can use the sort and filters together.
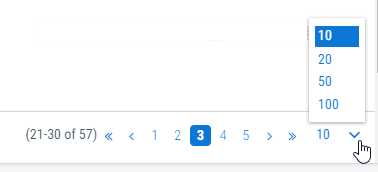
By default, the projection list displays 10 projections at a time. To view additional projections:
- View the first, last or next page of projections by clicking on the forward and backward arrows
- Change the number of projections viewable on a single page
The total number of projections and the range of projections on screen are also displayed.
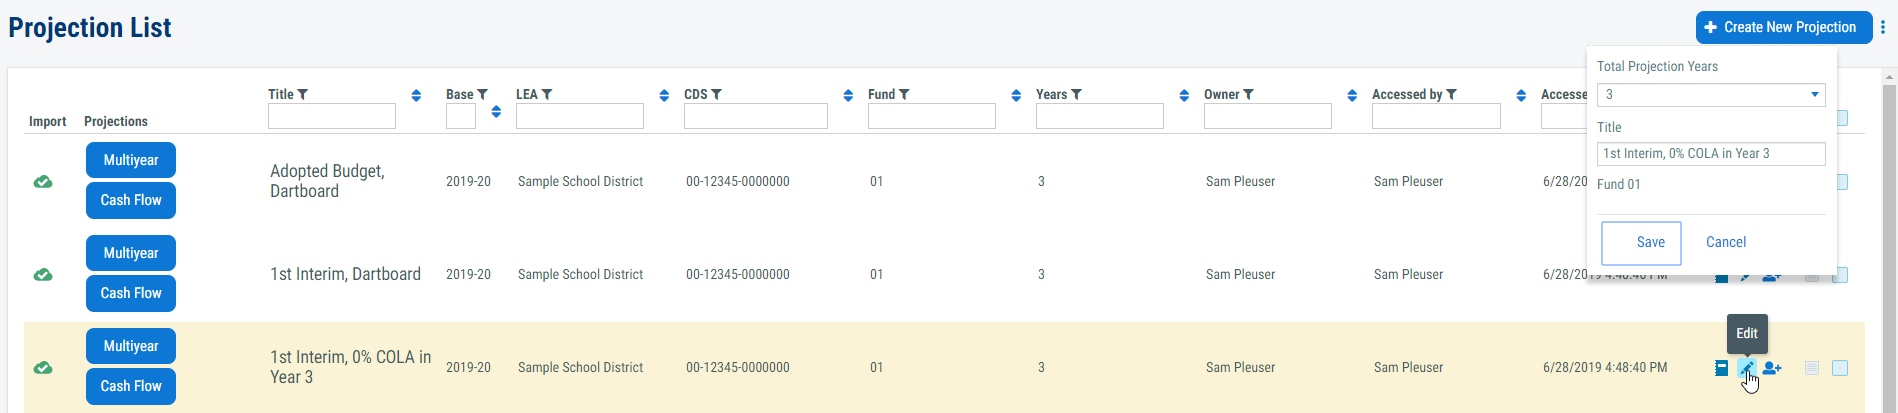
Modify or View a Projection
To modify or view a projection, click on the 'Multiyear' or 'Cash Flow' button. See Multiyear Projection and Cash Flow Projection for more information.
To change the title, click the 'Edit' pencil icon and make your change in the appropriate field, then click 'Save.'
Share a Projection
To share a projection, the following conditions must be met at the time the projection is initially shared:
- The projection owner must have the 'Share Projections' setting set to 'Yes' in their user profile.
-
The recipient of the shared projection must have the 'Share Projections' setting set to 'Yes' in their user profile.

-
The projection owner and recipient must have one of the following LEA relationships:
- Both users have the same LEA selected in their user profile; e.g., both users have Sample School District selected.
- The projection owner has a charter school selected and the recipient has the authorizing district or county selected in their user profile.
- The projection owner has a school district selected and the recipient has the relative county selected in their user profile.
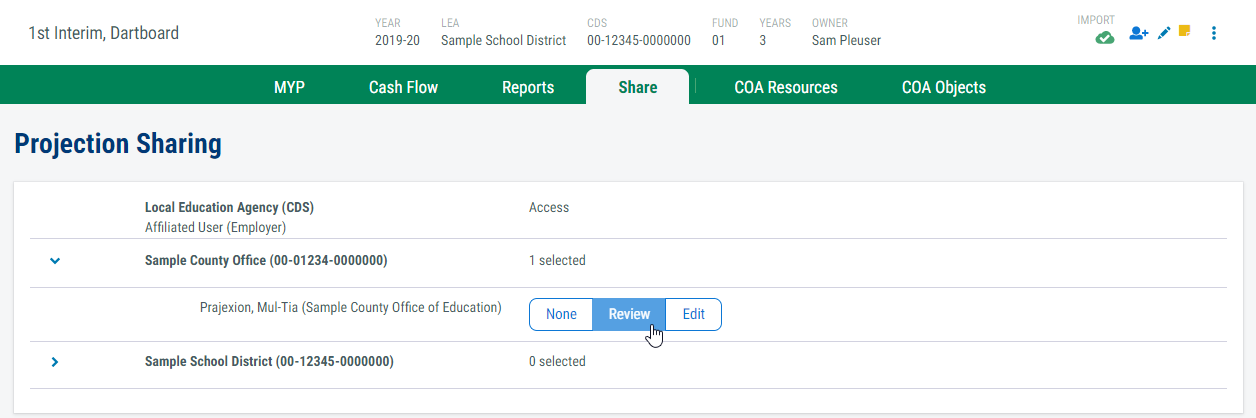
When these conditions are met, the projection owner will be able to access the share screen, and the recipient will be listed under the LEA selected in their user profile. The projection owner can access the share screen either from the share icon on the Dashboard or from the share tab inside a projection.

To complete the share, the projection owner must set the 'Access' setting to either 'Review' or 'Edit' for the recipient on the share screen.
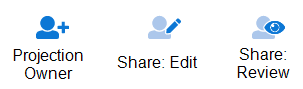
Each projection record in the projection list contains a share icon. This icon helps identify projections that a user owns versus projections where they are the edit or review recipient.
Copy a Projection
To copy a projection from the projection list:
- Click the checkbox to the far right of the projection to be copied. Note: FCMAT recommends no more than two projections be copied at a time due to the processing time.
- Click the menu button next to the '+ Create New Projection' button.
- Click on the 'Copy' item in the menu.
- Select 'Yes' when asked to confirm the copy.
The copied projection title will be duplicated from the original and have 'Copy of' appended. To edit the title, see Modify or View a Projection.

Remove Projections
To remove projections from the projection list:
- Click the checkbox to the far right of the projection(s) to be removed.
- Click the menu button next to the '+ Create New Projection' button.
- Click on the 'Remove' item in the menu.
- Select 'Yes' when asked to confirm the removal.
Note: When a recipient removes a projection that has been shared with them, the projection is removed from their projection list but will remain available to the projection owner and any other recipients.